White balance is crucial in photography for ensuring that the colors in your images appear natural and accurate, regardless of the lighting conditions. Each light source has a different color temperature, measured in degrees Kelvin (K), which can give your photos a warmer (yellow/orange) or cooler (blue) cast. White balance compensates for these variations by adjusting the color tones to make whites look truly white and all other colors more accurate.
Before diving into the presets, it’s helpful to understand color temperature, measured in Kelvin (K). Here’s a simplified scale:
- Warm Light: Lower Kelvin values (around 1000K – 4000K) produce warm, yellowish light.
- Neutral Light: Mid-range Kelvin values (around 5000K – 6500K) produce neutral, daylight-balanced light.
- Cool Light: Higher Kelvin values (above 7000K) produce cool, bluish light.
Most cameras come with preset white balance options designed to handle common lighting scenarios. Understanding when and how to use these presets will help you capture true-to-life colors without the need for extensive post-processing. Here’s a breakdown of the most common preset white balance settings:
Auto White Balance (AWB)
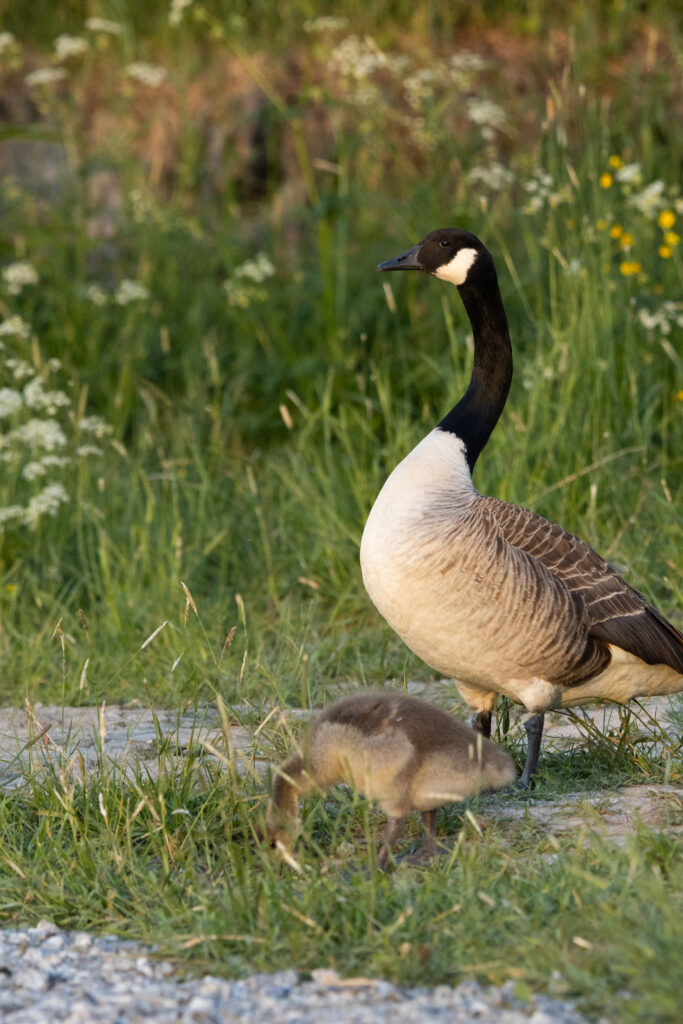
Auto White Balance (AWB) is a convenient option that adjusts white balance automatically based on the color temperature of the light in the scene. It works well in many situations, especially when there are mixed light sources or rapidly changing lighting conditions. However, AWB is not foolproof; it can sometimes struggle with extreme lighting, such as the warm tones of sunset or the cool blues of shaded areas. In these cases, it may render colors inaccurately—too cool or too warm—requiring manual correction.
When to use AWB:
- In scenes where light sources vary or shift quickly, like during events or street photography.
- When shooting casually without needing perfect color precision.
Drawback: AWB can sometimes make inconsistent adjustments from shot to shot, especially if your scene has multiple light sources.
Daylight (Around 5200K)
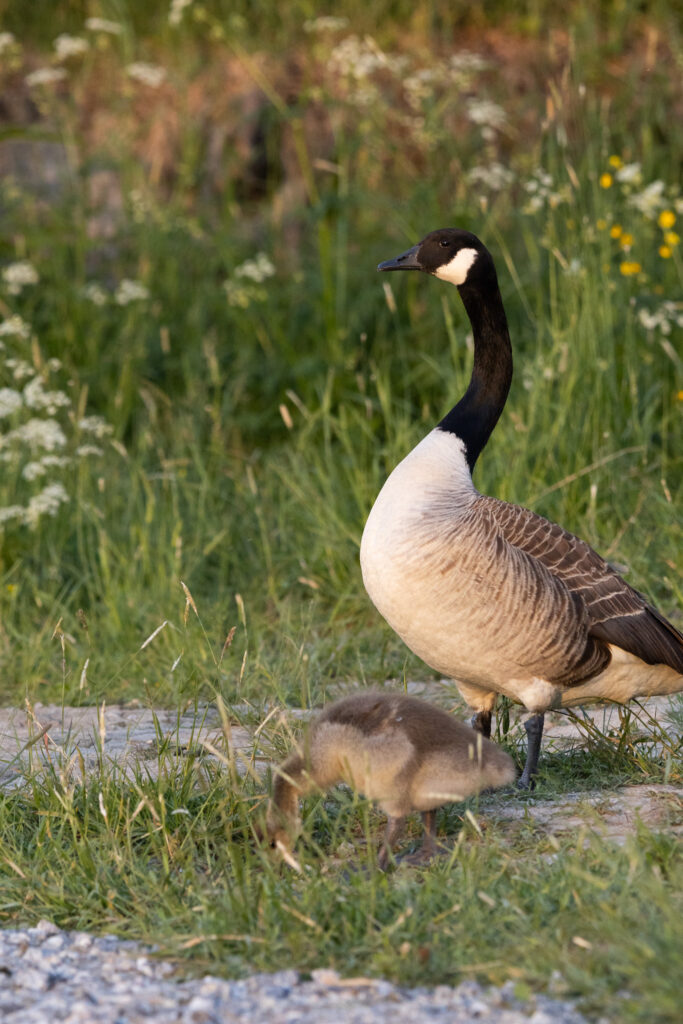
The Daylight preset is designed for shooting under bright, natural sunlight. Since sunlight has a relatively neutral color temperature, this preset doesn’t need to make dramatic color corrections. Instead, it helps to maintain the natural tones of your scene, ensuring your image colors are neither too warm nor too cool.
When to use Daylight:
- On bright, sunny days when you want to preserve the natural, neutral color of the scene.
- Ideal for landscapes, outdoor portraits, or any situation where daylight is the primary light source.
Tip: You may find that using this preset can enhance colors in nature photography, making the greens of forests or the blues of the sky pop.
Cloudy (Around 6000-6500K)
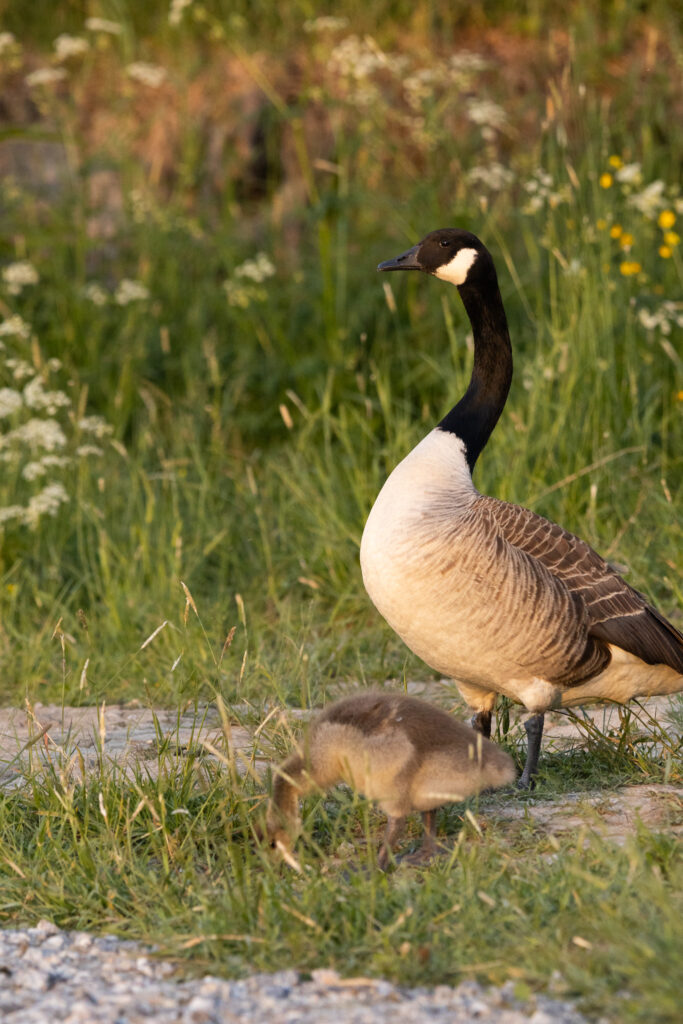
On cloudy or overcast days, the light is naturally cooler due to the soft, diffused sunlight. The Cloudy preset compensates for this by warming up your photo slightly. This is great for making colors more vivid when shooting outdoors in less-than-ideal weather conditions. The additional warmth can prevent your photos from looking too cold or washed out under overcast skies.
When to use Cloudy:
- When shooting outdoors on overcast days or in shaded areas.
- To give outdoor scenes a touch of warmth, even when natural light is muted.
Tip: Many photographers use the cloudy preset on sunny days to enhance the warm tones in a scene, giving photos a slightly golden, sun-kissed look.
Shade (Around 7000K)
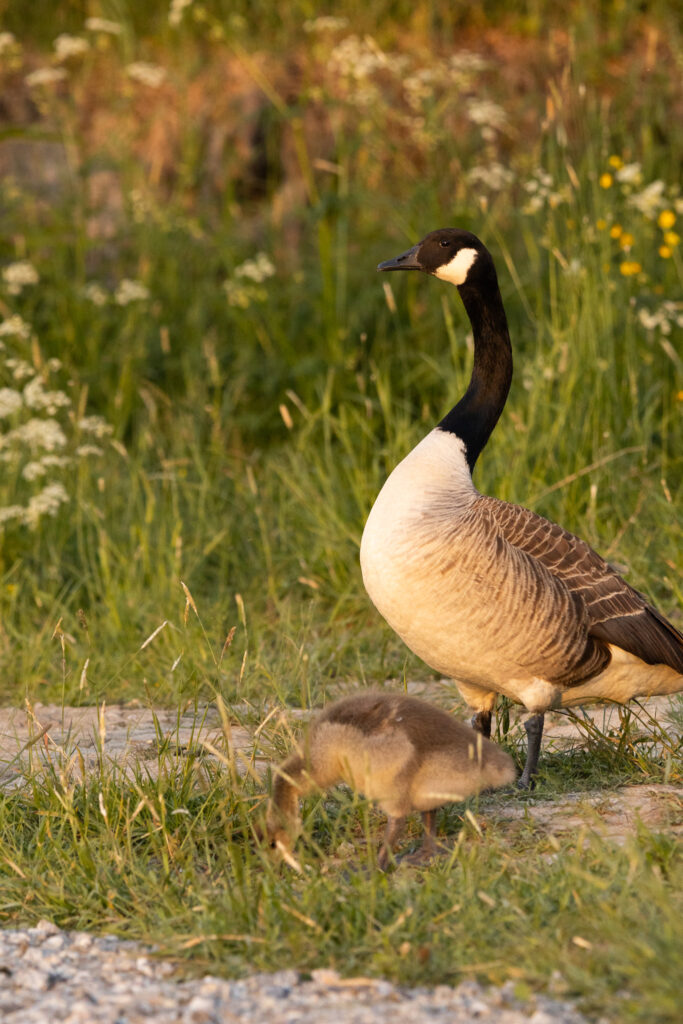
Shade, especially in outdoor environments, tends to produce cooler, bluish tones because it is indirectly lit by the sky rather than direct sunlight. The Shade preset is warmer than Cloudy, adding an extra layer of warmth to counterbalance this cool light.
When to use Shade:
- When your subject is in a shaded area while the rest of the scene is lit by daylight.
- For portraits in shaded areas to avoid cool, unnatural skin tones.
Tip: The Shade preset is great for outdoor portrait photography, helping to keep skin tones natural and avoiding any unflattering blue casts that may arise in the shadows.
Tungsten (Around 3200K)
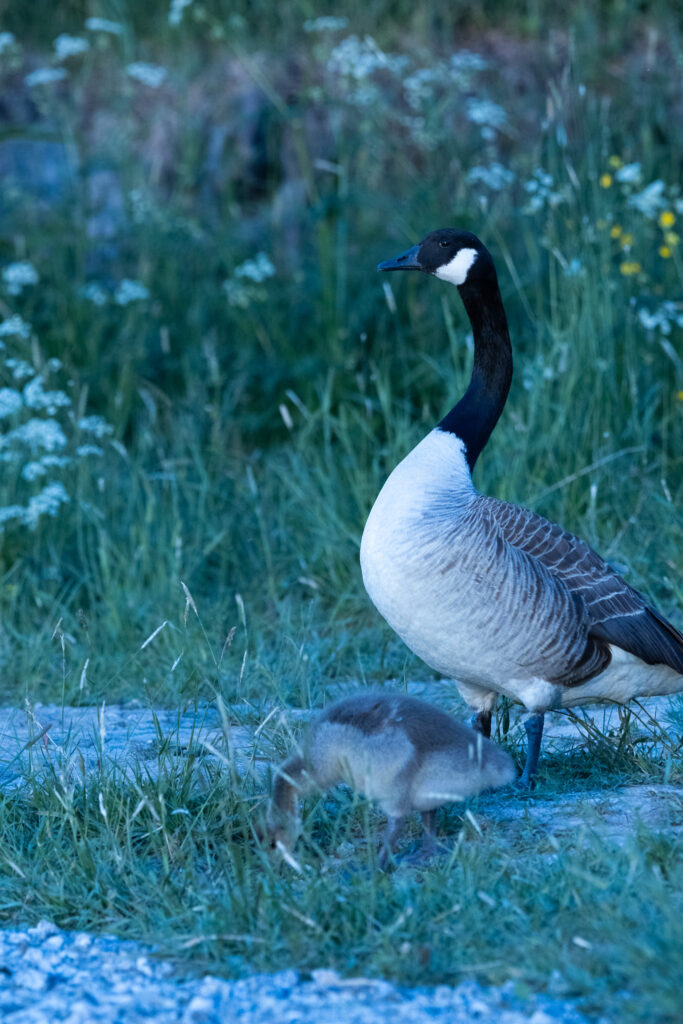
Tungsten lighting, commonly found in indoor settings with incandescent bulbs, tends to cast a strong yellow or orange glow. The Tungsten preset cools down this warm light, neutralizing the color balance to make whites look more like white instead of yellow.
When to use Tungsten:
- Indoors, under incandescent or tungsten light sources, such as household lamps or warm indoor lighting.
- In scenes with lots of warm, artificial light where you want to cool the colors down for natural-looking results.
Tip: Tungsten can be creatively used outdoors at night, especially when there are warm streetlights. It can give a cool, cinematic tone to night photography.
Fluorescent (Around 4000-5000K)
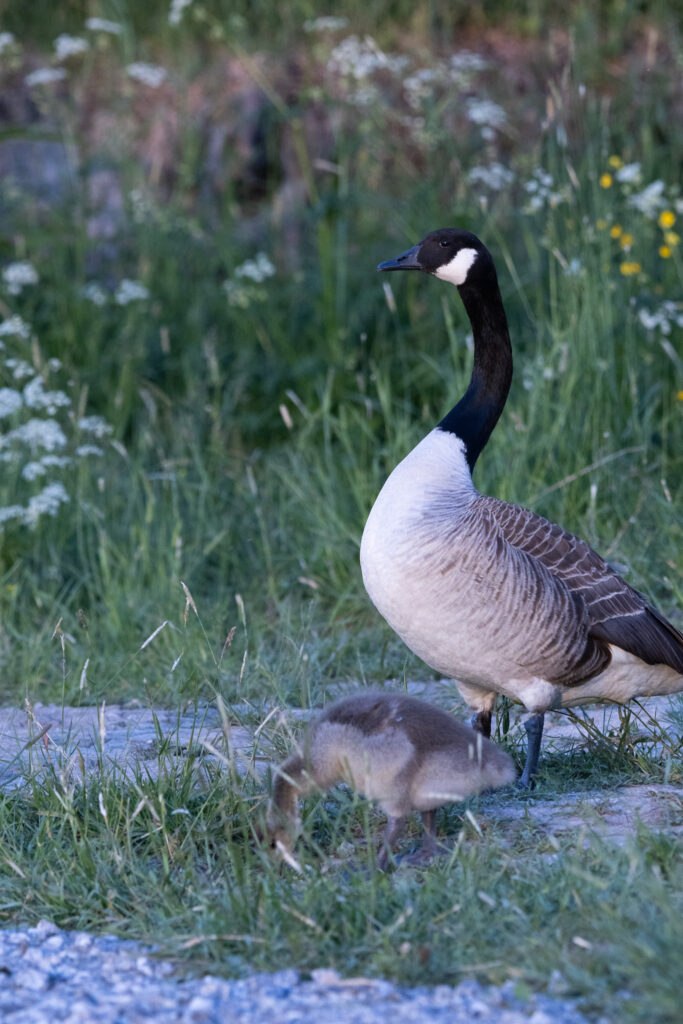
Fluorescent lights tend to emit a greenish tint, which can make skin tones look unnatural. The Fluorescent preset adds warmth to counteract this green cast, bringing a more natural color to your photos.
When to use Fluorescent:
- Indoors, under fluorescent lighting in places like offices, schools, or other indoor spaces lit by these kinds of bulbs.
- When you want to remove that cold, clinical look that fluorescent lights often produce in photos.
Tip: This preset can help make indoor spaces feel more inviting and cozy by reducing the harshness of fluorescent lighting.
Flash (Around 5500-6000K)
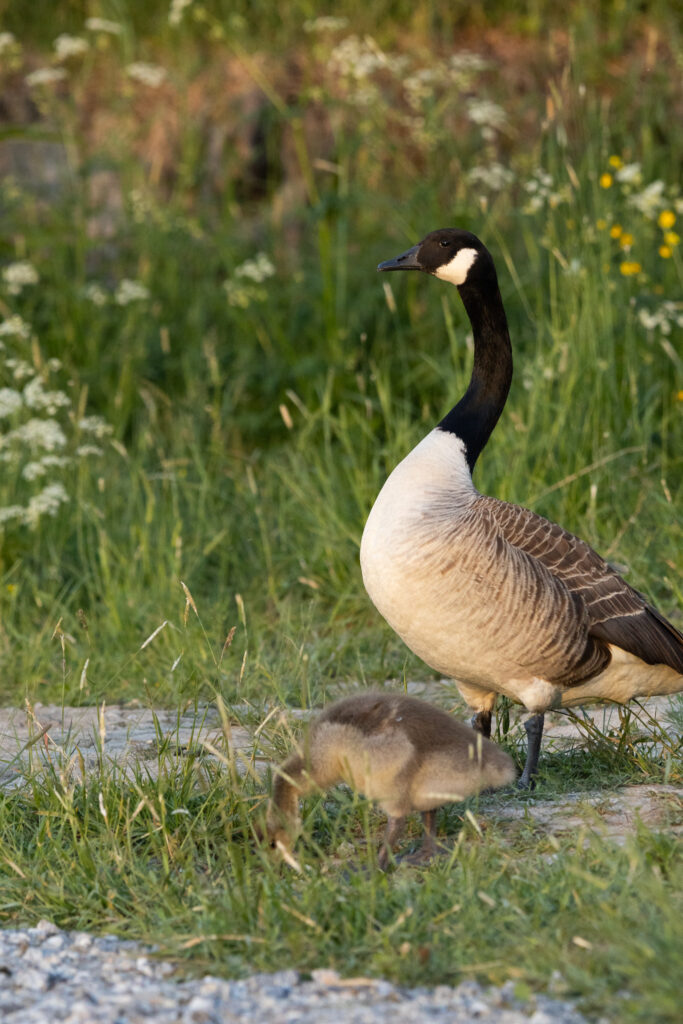
The flash from your camera provides a strong, cool light that can often leave subjects looking a little cold or harsh. The Flash preset adds a slight warm tone to offset the cool light, ensuring that skin tones and colors remain natural and vibrant.
When to use Flash:
- In low-light environments where you need to use the camera’s flash to illuminate the scene.
- When shooting portraits with flash to avoid washed-out or cold-looking skin tones.
Tip: If you’re shooting in mixed light (flash plus ambient light), the Flash preset can help balance the color tones between the two light sources.
Preset white balance settings are a great starting point for getting the right colors in your photos quickly and effectively. While they’re designed for specific lighting conditions, don’t be afraid to experiment with them in creative ways. For instance, using the Cloudy preset in daylight can warm up your scene, giving it a more golden, vibrant tone. On the other hand, using the Tungsten preset outdoors at night can create a cool, moody atmosphere.
Understanding these preset options will give you more control over the color accuracy of your photos, allowing you to focus more on the creative aspects of your photography.