When you’re out with your camera, one of the key elements that can transform your photos is understanding and controlling depth of field. And at the heart of that control is aperture. Aperture doesn’t just affect the amount of light entering your camera—it’s your tool for deciding what stays sharp and what turns into a dreamy blur. Let’s dive into aperture and how it helps you master depth of field.
What Is Aperture?
Aperture is essentially the “pupil” of your camera’s lens. Just like how your eyes dilate or contract depending on how much light is around, the aperture in your lens can widen or narrow. This opening allows light to hit the camera sensor, and its size has a big impact on how your photo looks. The wider the aperture, the more light gets in, and the narrower it is, the less light reaches the sensor.
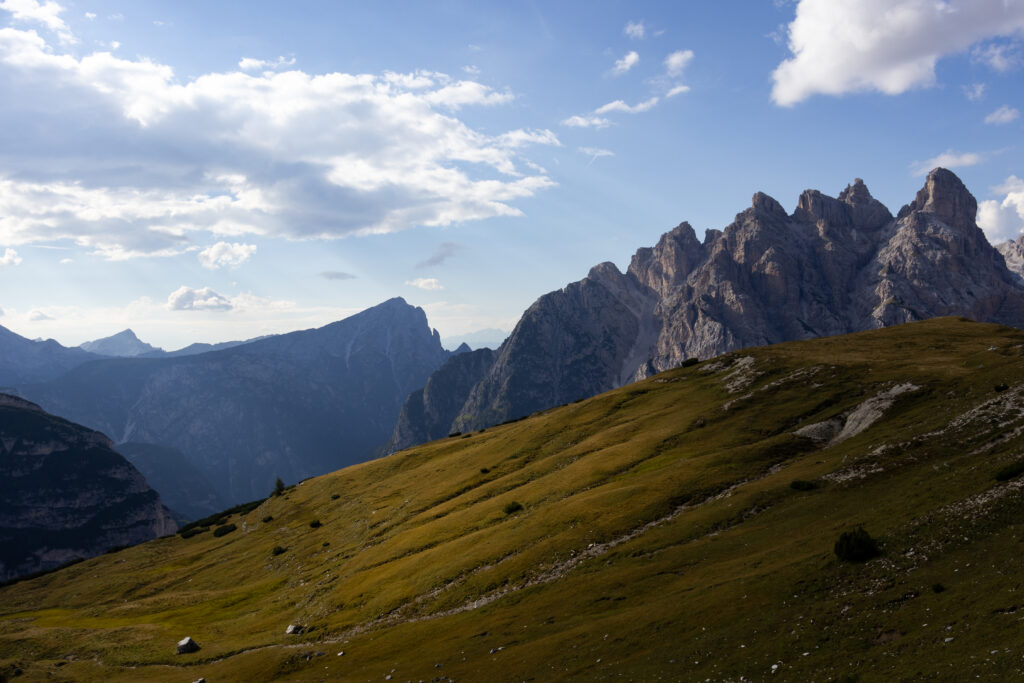
But aperture does more than just control light. It also determines depth of field, or how much of your image is in focus. If you’ve ever seen a portrait where the person’s face is sharp but the background is all blurred out, that’s aperture at work. The same goes for a landscape photo where everything from the closest tree to the distant mountains is in clear focus.

A small f-number blurs the background.

A large f-number keeps everything in focus.
Why Depth of Field Matters
Depth of field is all about what parts of your image are sharp and what parts aren’t. A shallow depth of field keeps a small slice of your image in focus, while everything else fades into a blur. This technique is especially popular for portraits and close-ups, where you want your subject to stand out against a soft, dreamy background.
On the other hand, a deep depth of field keeps everything in your shot sharp and detailed. This is great for landscape photography, where you want to capture the full scene, from the foreground to the horizon, in crisp detail. Mastering depth of field is like having an artistic brush to decide which parts of your photo tell the story and which parts quietly support it in the background.
Understanding F-Stops
Aperture is measured in f-stops, and this is where things might feel a little backward at first. The f-stop number refers to the size of the aperture opening, and here’s the tricky part: the smaller the f-stop number, the larger the opening, and the larger the f-stop number, the smaller the opening. For example, an aperture of f/2.8 lets in way more light than an aperture of f/16.
The f-stop scale looks something like this: f/1.4, f/2, f/2.8, f/4, f/5.6, f/8, f/11, f/16, f/22. Moving up or down on this scale either halves or doubles the amount of light entering your camera. So, moving from f/2.8 to f/4 reduces the light by half, while moving from f/8 to f/5.6 lets in twice as much light.
Beyond controlling light, f-stops have a huge influence on depth of field. A wide aperture (small f-stop number, like f/1.8) creates a shallow depth of field, which is ideal for portraits where you want the subject in sharp focus and the background beautifully blurred. On the other hand, a narrow aperture (large f-stop number, like f/11) gives you a deeper depth of field, making everything in the image—both near and far—sharp and detailed. This is perfect for landscapes or architectural photography.
An important thing to note is that many lenses have a “sweet spot” around f/8 to f/11, where they produce the sharpest images. So, while it’s tempting to shoot with the aperture wide open for that beautiful blur, sometimes stopping down a bit can give you sharper results, especially when you want both your subject and some background in focus.

Practical Uses of Aperture
Now that you understand what aperture does, when should you use it to your advantage?
If you’re shooting portraits, you’ll likely want a shallow depth of field to make your subject stand out. A wide aperture like f/1.8 or f/2.8 will blur the background nicely and keep the focus on your subject. This is also true for close-ups of details like flowers, food, or other small objects—anything where you want to highlight a specific part of the scene and softly fade out everything else.
For landscapes, however, you’ll want to use a narrow aperture like f/11 or f/16 to ensure that everything from the foreground to the horizon is in focus. This technique captures all the intricate details of the scene and is essential for shots where you want to show the full depth and beauty of a wide vista.
Aperture is an incredibly powerful tool for controlling depth of field and making your photos stand out. Whether you’re looking to blur out a distracting background or keep every element of your shot in focus, mastering aperture gives you more creative control over your photography. So, grab your camera, experiment with different f-stops, and see how aperture can transform your images.